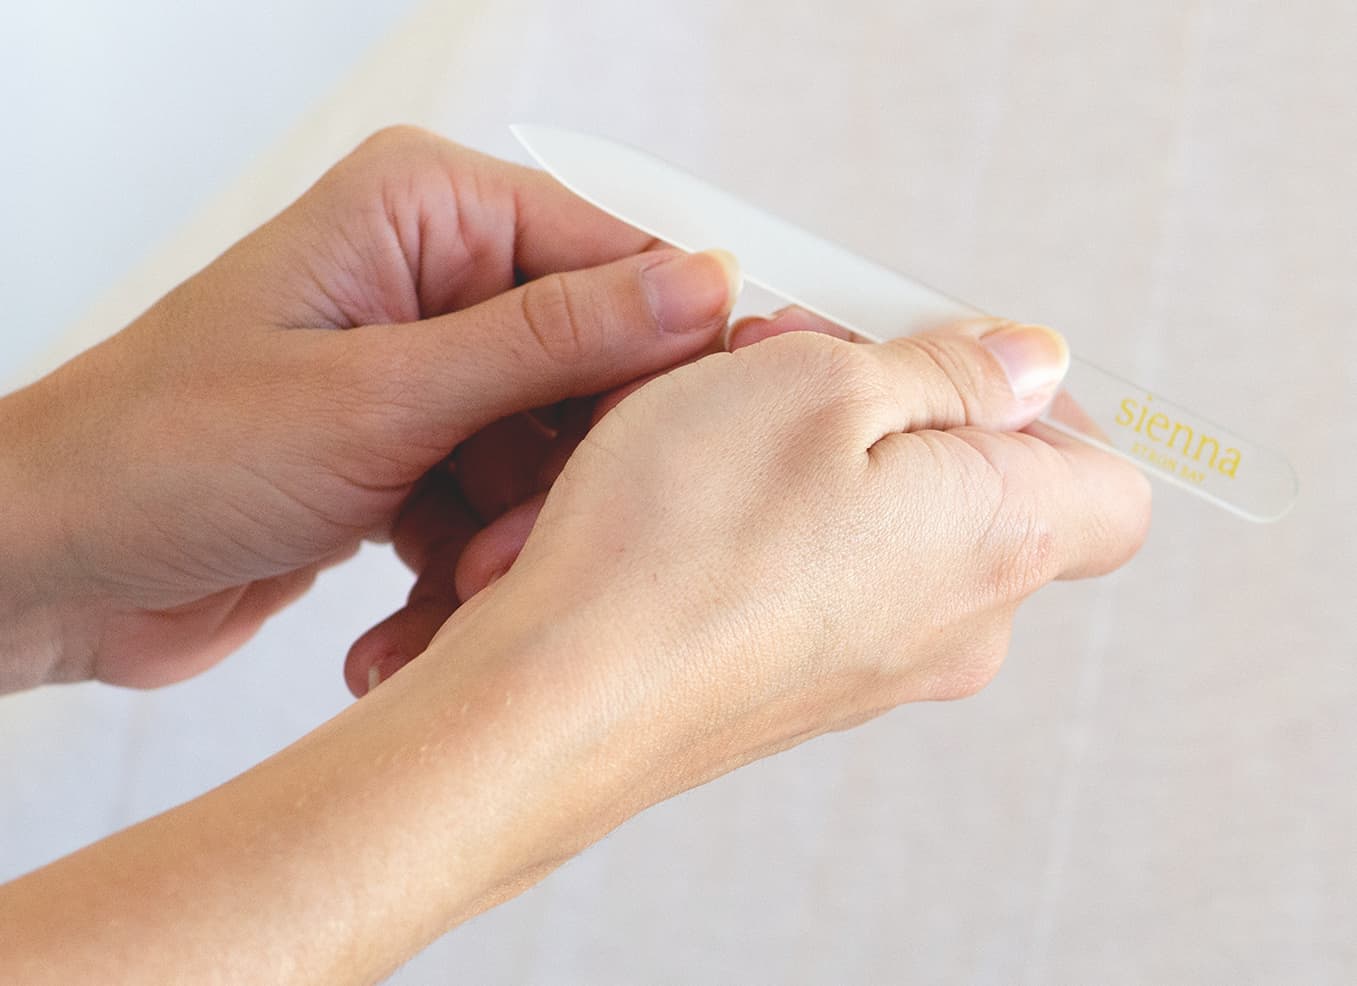
Easy steps to a manicure at home
In this crazy, busy world, a perfect manicure can make you feel like a total BOSS. We can’t always have our nails done professionally but thankfully, this is something we can do at home. Put your phone away, hit play on some soothing spa music, and follow our steps to give yourself a nurturing manicure at home.
What you need
Get everything together before you start.
You need:
- Nail polish remover + cotton pads.
- A nail file – we don’t want to brag, but our everlasting glass nail files are pretty good.
- Base coat
- Nail polish
- Top coat
- Cuticle oil

1. Remove old polish
If you have any residual polish left on your nails from an old manicure, now is the time to wipe it off using a non-acetone remover . Tempting as it is to just brush over the top of your old polish with the new colour, give your nails the chance to shine by starting with a clean base. Wash your hands and dry them thoroughly after using remover, focusing closely on the nails.
2. Shape your nails
Use a nail file to shape your nails. Sawing your nails back and forth will destroy the nail tip which, frankly, sounds terrible. This means your nails will split, resulting in peeling and breakage. File from the outside in to the middle on either side and stick with it. Healthy nails are beautiful nails.

3. Apply a base coat
A great base coat will protect your nails while creating a smooth surface to apply your polish. It will also prolong the life of your manicure. Clever base coat!
HOT TIP: Base coat holds your nail together too so if you have soft nails, it’s perfect to make them strong. It’s also the product to use if you like a nude nail, it goes on clear and gives them a high shine!

4. Apply your nail polish like a pro
We are heading towards the business end of your manicure now as we apply the nail polish colour. We are aiming for two coats here. The best way to achieve the perfect coat is to get a decent size bead of polish on your brush and then as you pull it out of the bottle, wipe it away from one side only. Now, land the brush with a drop of polish in the centre of your nail. Gently do three strokes; one in the centre from the base to the tip, one on the left and one on the right and voila! You have achieved nail polish glory.
HOT TIP: Make your first coat thin and load up your second coat for full coverage. If you need to do a third coat that’s totally fine!
Pro tip
You don’t need to push the polish right down to meet the cuticle. Leave a teeny tiny gap to make sure you don’t ‘flood’ the cuticle area with polish which is a short cut to a messy finish. No one likes a messy finish, and your eye will not be able to tell the difference anyway.

5. Finish with a top coat
Seal the deal with a clear top coat. Repeat the three strokes technique, but finish with a sideways swipe of top coat at the tip of the nail to seal the top coat and protect your gorgeous manicure. As well as giving shine for days, top coat stops your polish from chipping early.

6. Cuticle oil is like kindness
You know what they say: “Cuticle oil is like kindness. Sprinkle it around everywhere”. We’re not sure if they really say that… but they should. Cuticle oil will give your nails instant salon-look realness and major hydration. If you do accidentally knock your nails before your polish has hardened, (we’ve all been there), the oil provides a little slip so they’re less likely to nick.
Take a moment
Now is a good time to just sit still. You can’t do much while you wait for your nail polish to dry anyway, so take the time and luxuriate for a few blissful minutes. Listen to some music or a podcast, or simply do nothing. Life moves pretty fast and taking a moment to do your nails can double as precious quiet time. So go on. You deserve it.
 Spirit nail polish
 AUS & International
 USA
USA


Leave a comment